Step 1: Insert USB Key
The USB Key must be plugged at the PC where SQL Server is installed. If you have only one USB Key, you can only use it on one server machine at one time.
Step 2: Install USB Key Server
(this Step 2 is not needed for standalone user.)
In network environment, you need to first install USB Key Server, the installer can be located on your AutoCount Installer CD.
To install USB Key Server, look into the following path on you installer CD,
...\Accounting\USBKey Server\Setup.exe
Double click on setup.exe,
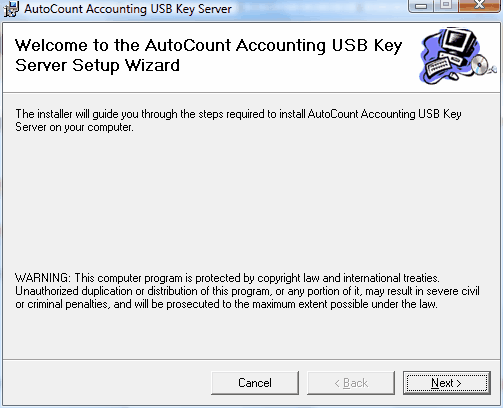
Click on Next,
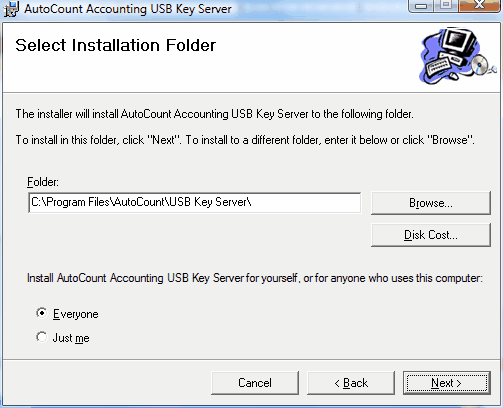
Click on Next, Next,
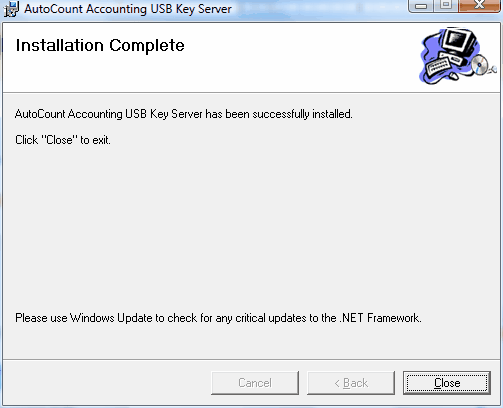
Installation completed, click on Close.
There will be a tray icon appeared on your notification tray, named 'AutoCount Accounting USB Key Server Monitor'.

Double click on the tray icon will bring up a window allowing you to check the status of the USB Key.
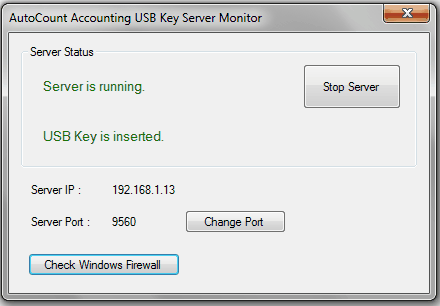
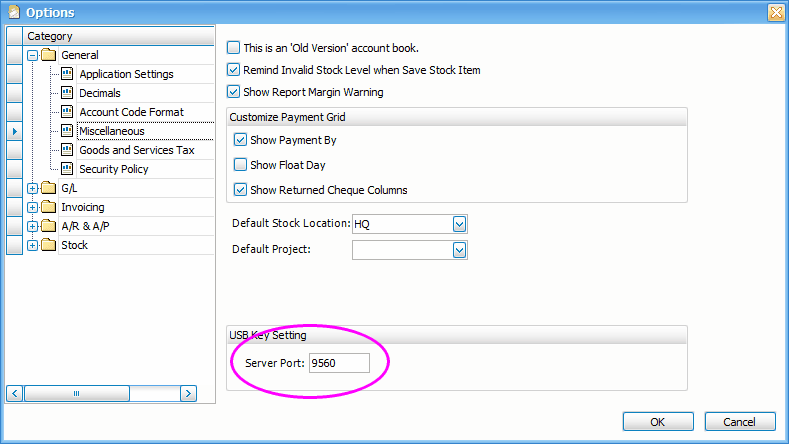
Click on Change Port, you may change the Server Port value (default value is 9560) if it crashes with other application.
However, if you have changed the Server Port value here, you must also update the same value at Too's > Options > General > Miscellaneous
Click on Check Windows Firewall to check if this port is opened in Firewall, you may choose to add this port to Firewall.
Step 3: Licence Control Setting
Go to Tools > Programs Control > License Control
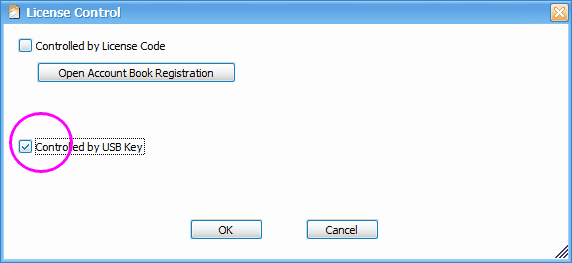
Check the checkbox of 'Controlled by USB Key' .
Click on OK.
You may double click on tray icon 'AutoCount Accounting USB Key Server Monitor' to check the status of USB Key from time to time.
_____________________________________________________________
Send feedback about this topic to AutoCount. peter@autocountSoft.com
© 2013 Auto Count Sdn Bhd - Peter Tan. All rights reserved.