The following steps show how to install MSSQL Server 2005 Express manually instead of using the auto-installation function designed by AutoCount.
1. Locate the installer and double click to launch.... in your AutoCount Installer DVD ..... E:\SupportFiles\SQLEXPRSP4.EXE
2. Installation: End User License Agreement
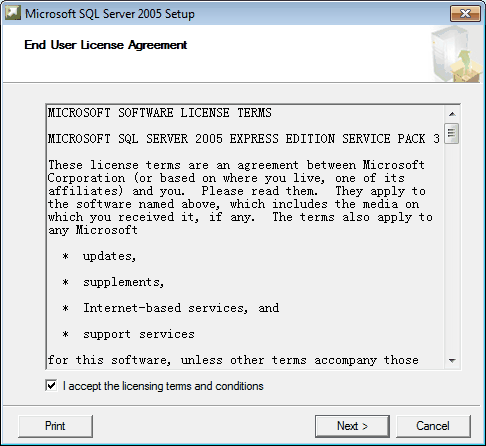
Check the checkbox of I accept the licensing terms and conditions, Next.
3. Installation: Installing Prerequisites
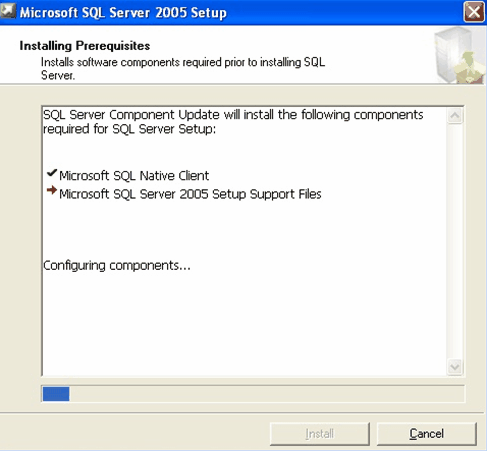
after the required components were installed successfully, click Next.
4. Installation: Welcoming
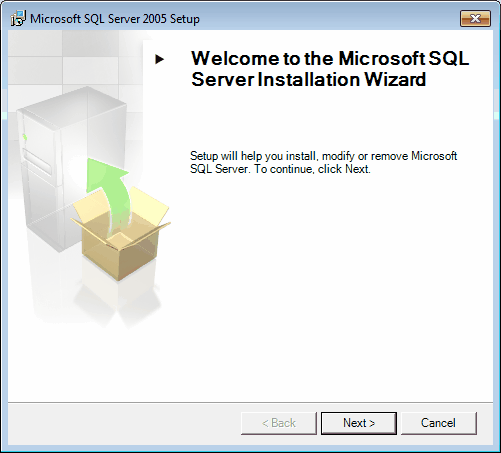
Click Next..
5. Installation: System Configuration Check
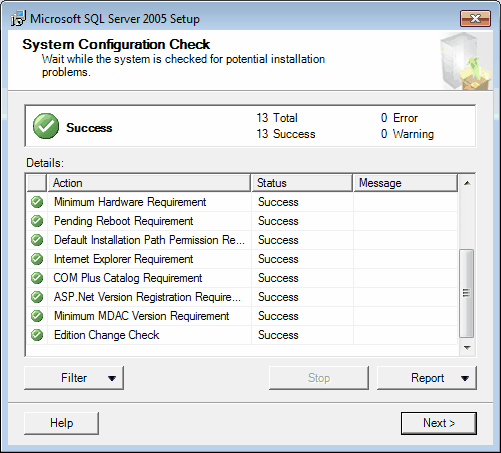
click Next
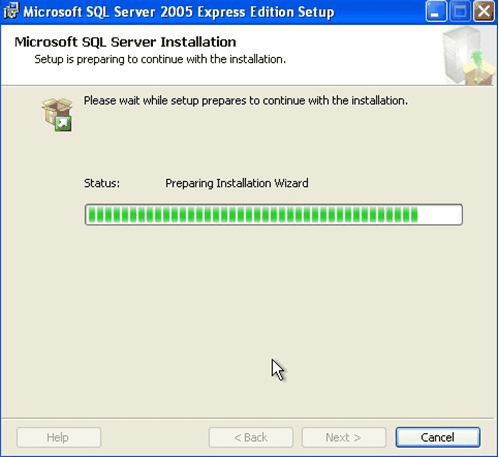
6. Installation: Preparing Installation
Uncheck Hide advanced configuration options, and click Next.
7. Installation: Feature Selection

click Next
8. Installation: Instance Name
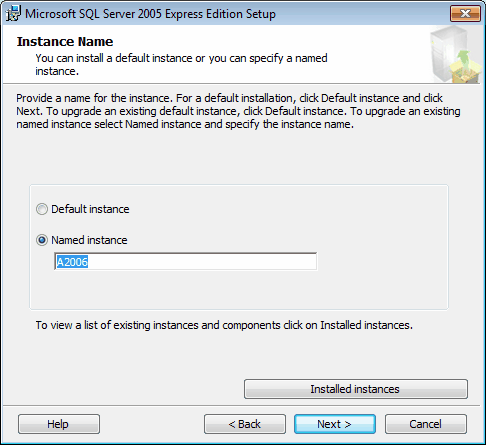
At Named instance, key in A2006, then click Next
9. Installation: Service Account
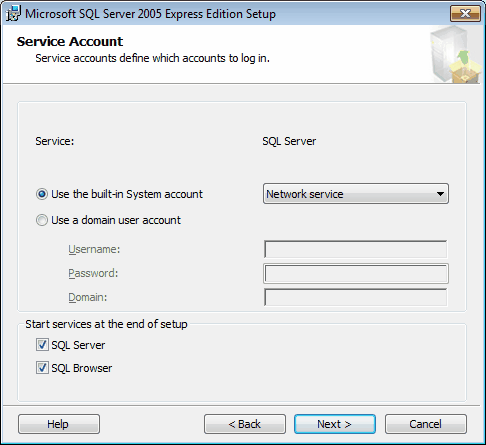
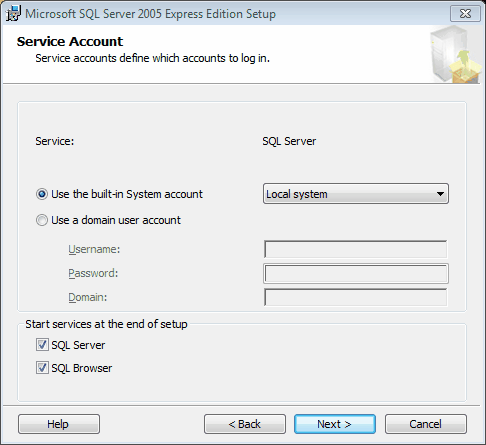
At Use the built-in System account, select Local system.
At Start services at the end of setup, check the checkbox of SQL Server and SQL Browser.
Then click Next
10. Installation: Authentication Mode
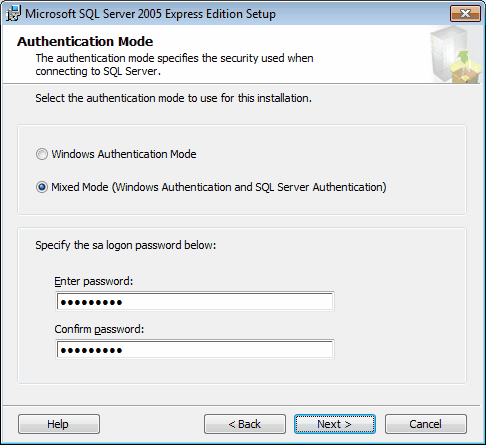
Choose the option of Mixed Mode.
Key in your SA password. (Note: manual installation also mean to use your own SA Password instead of the default password set by AutoCount, and you will need to always remember your SA Password as it will be needed when create/attach/restore account book...)
Click Next.
11. Installation: Collation Settings
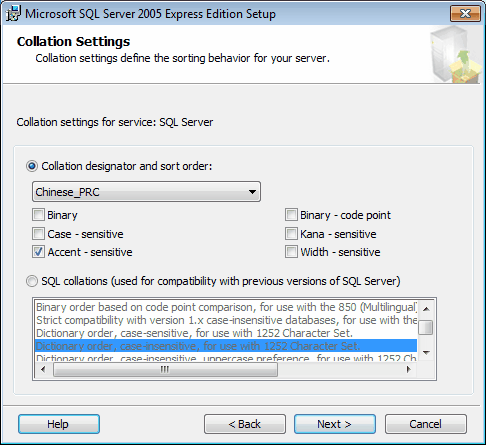
Take the default setting, click Next.
12. Installation: Configuration Options
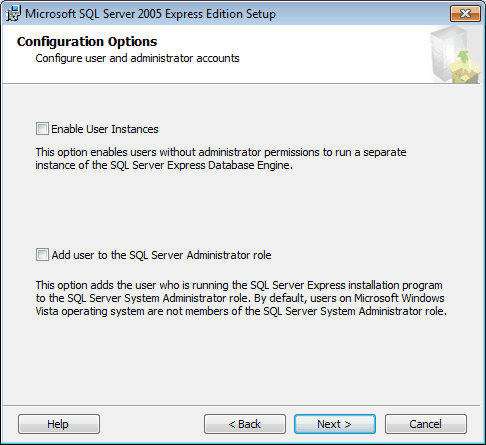
Click Next.
13.Installation: Error and Usage Report Settings
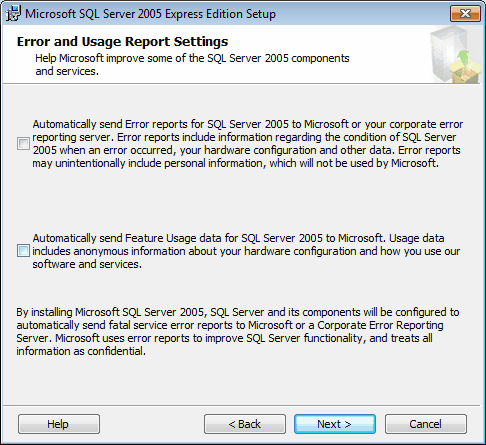
Click Next.
14. Installation: Ready to install
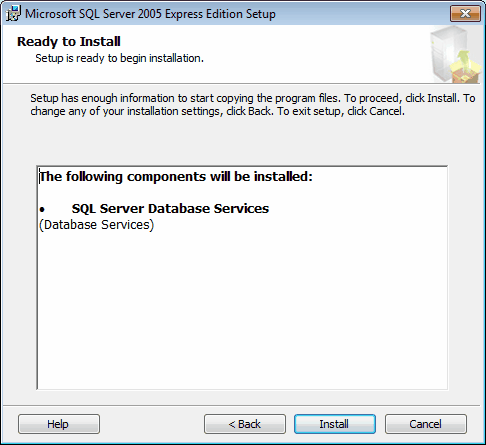
Click Install to start the installation.
15. Installation: Setup Progress
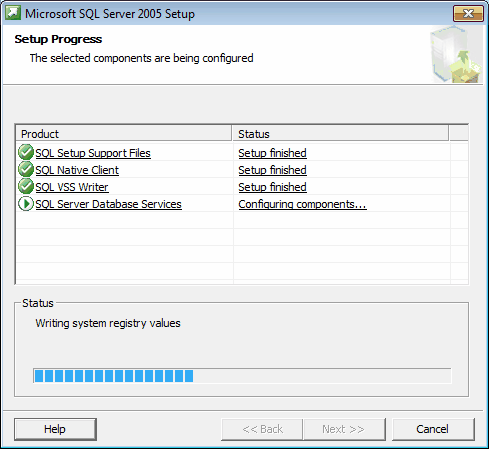
When all the setup are finished, click Next.
16. Installation: Completing Microsoft SQL Server 2005 Setup
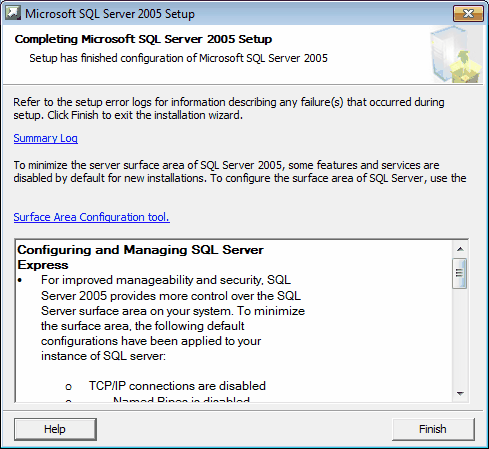
Click Finish to end the installation.
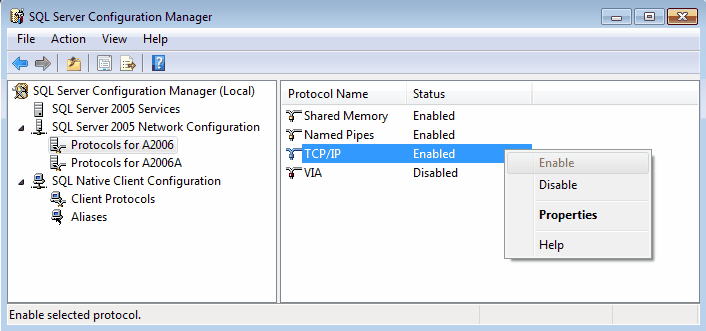
17. Enable Protocols
Go to Start > All Programs > Microsoft SQL Server 2005 > Configuration Tools > SQL Server Configuration Manager.
Click to expend SQL Server 2005 Network Configuration, highlight Protocols for A2006, right click to enable TCP/IP and Named Pipes.
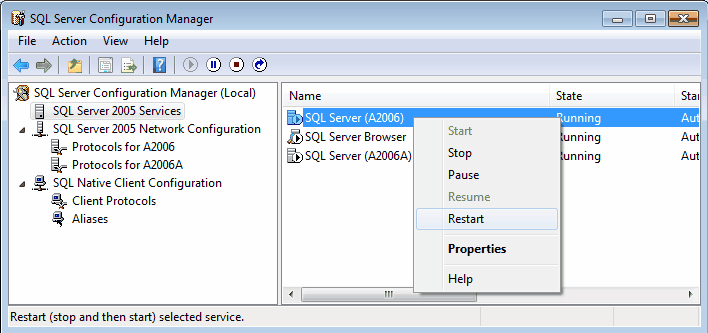
18. Start/Restart Services
Click on SQL Server 2005 Services, right Click SQL Server (A2006 ) to Start (if it is stopped) or Restart (if it is running) the Services.
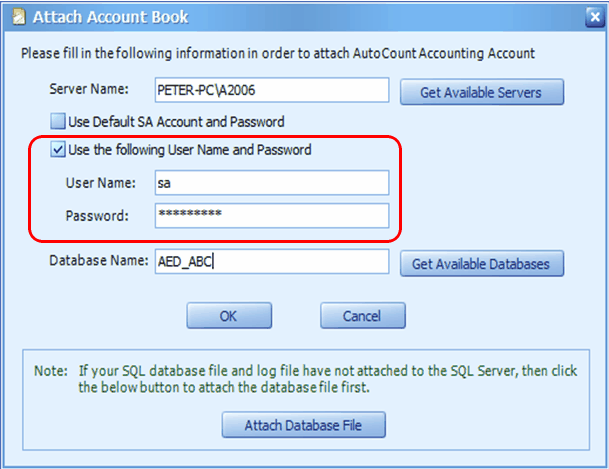
When create/attach/restore account book
Since you have been using your own SA Password instead of the default password set by AutoCount, and you will need to always remember your SA Password as it will be needed when create/attach/restore account book.
Attach Account Book - select Use the following User Name and Password, Key in User Name as 'sa' and then enter your sa password.
Note: you cannot select Use Default SA Account and Password because during installation you have keyed in your own sa password instead of using the default sa password created by AutoCount.
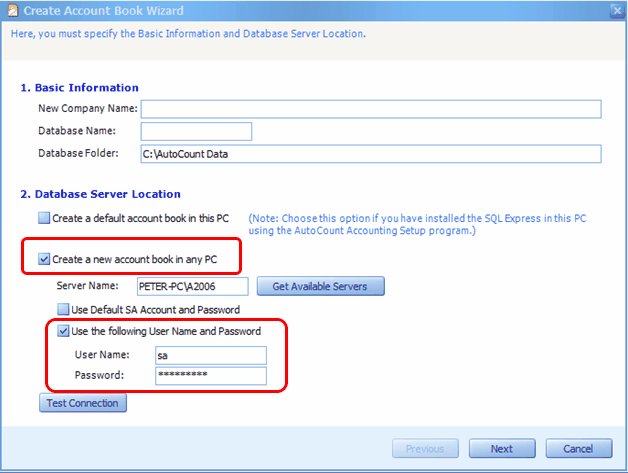
Create Account Book - select Create a new account book in any PC, select Use the following User Name and Password, Key in User Name as 'sa' and then enter your sa password.
Note: you cannot select Create a default account book in this PC because during installation you have keyed in your own sa password instead of using the default sa password created by AutoCount.
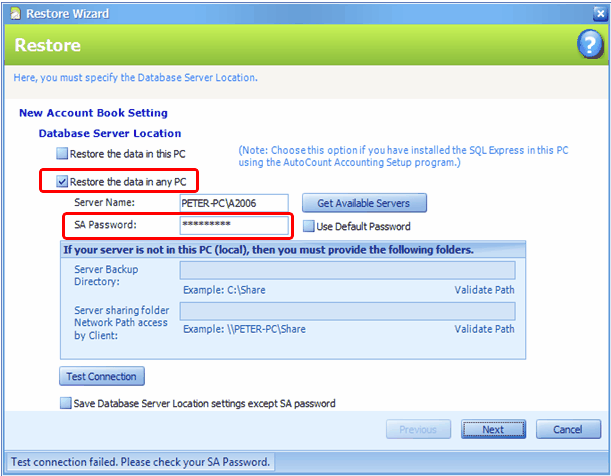
Restore - select Restore the data in any PC, then key in your sa password.
Note: you cannot select Restore the data in this PC because during installation you have keyed in your own sa password instead of using the default sa password created by AutoCount.
_____________________________________________________________
Send feedback about this topic to AutoCount. peter@autocountSoft.com
© 2013 Auto Count Sdn Bhd - Peter Tan. All rights reserved.